
Hey! I hope you find this tutorial helpful in dyeing your very own Unicorn Farts! I will be editing this here and there as needed and adding helpful hints as I remember them. Please feel free to ask questions here, or over on my facebook page!
I most likely will not be dyeing this colorway very often to sell anymore, so please feel free to dye up skeins to sell if you feel like you can produce sellable skeins! If you use my exact color recipes & colorway name to sell, I would appreciate if somewhere in your listing you give credit to Tomboyknits (i.e. "dyed using Tomboyknits' Unicorn Farts tutorial" or something) BUT: please don't use my shop name in the title of your listing. (I just don't want there to be confusion as to who has dyed the yarn & who is selling it. :D )
Thanks so much, and please enjoy! ♥

Supplies!
WOOL yarn (will not work with cotton or acrylic)
plastic wrap, the clingier the better
wide flat tupperware with top
rubber gloves
wee wee pads (or something to protect your kitchen counter)
measuring spoons (1/8 tsp & 1 tsp)
vinegar OR citric acid (I buy my citric acid from here: http://
dyes (food dyes, cake/icing dye, kool aid, or acid dyes)
mason jars or plastic cups (at least 4)
6 squirt bottles are really handy and I strongly suggest them - (I buy my 8oz squirt bottles from here: http://
a funnel is also handy if you're using squirt bottles
paper towels
microwave (if you don't have a microwave, you can use the oven instead. You can set the temp at around 200, lay out your yarn on a cookie sheet, and use aluminum foil instead plastic wrap. When you're done dyeing just wrap it all up and place in the oven for a few hours. I have had issues with the yarn getting burnt in a spot or two, but you may want to mess around with the temp/timing.)
guar gum is optional but very helpful in getting those clean color breaks and keeping the red and purple sections from wicking into the white (I found mine at Whole Foods in the gluten-free section)
blender, if you're using guar gum

This tutorial uses food dyes and kool aid to achieve the end result. The colors used are:
Red - 40 drops red from the McCormick assorted box
Orange - 1 packet of orange Kool Aid
Yellow - 2 packets of lemonade Kool Aid AND 3 drops yellow from the McCormick assorted box
Green - 1 packet of lemon-lime Kool Aid
Blue - 5 drops blue from the McCormick NEON box
Purple - 4 drops purple from the McCormick NEON box
Of course, you can also use regular acid dyes - just mix up your colors and go.

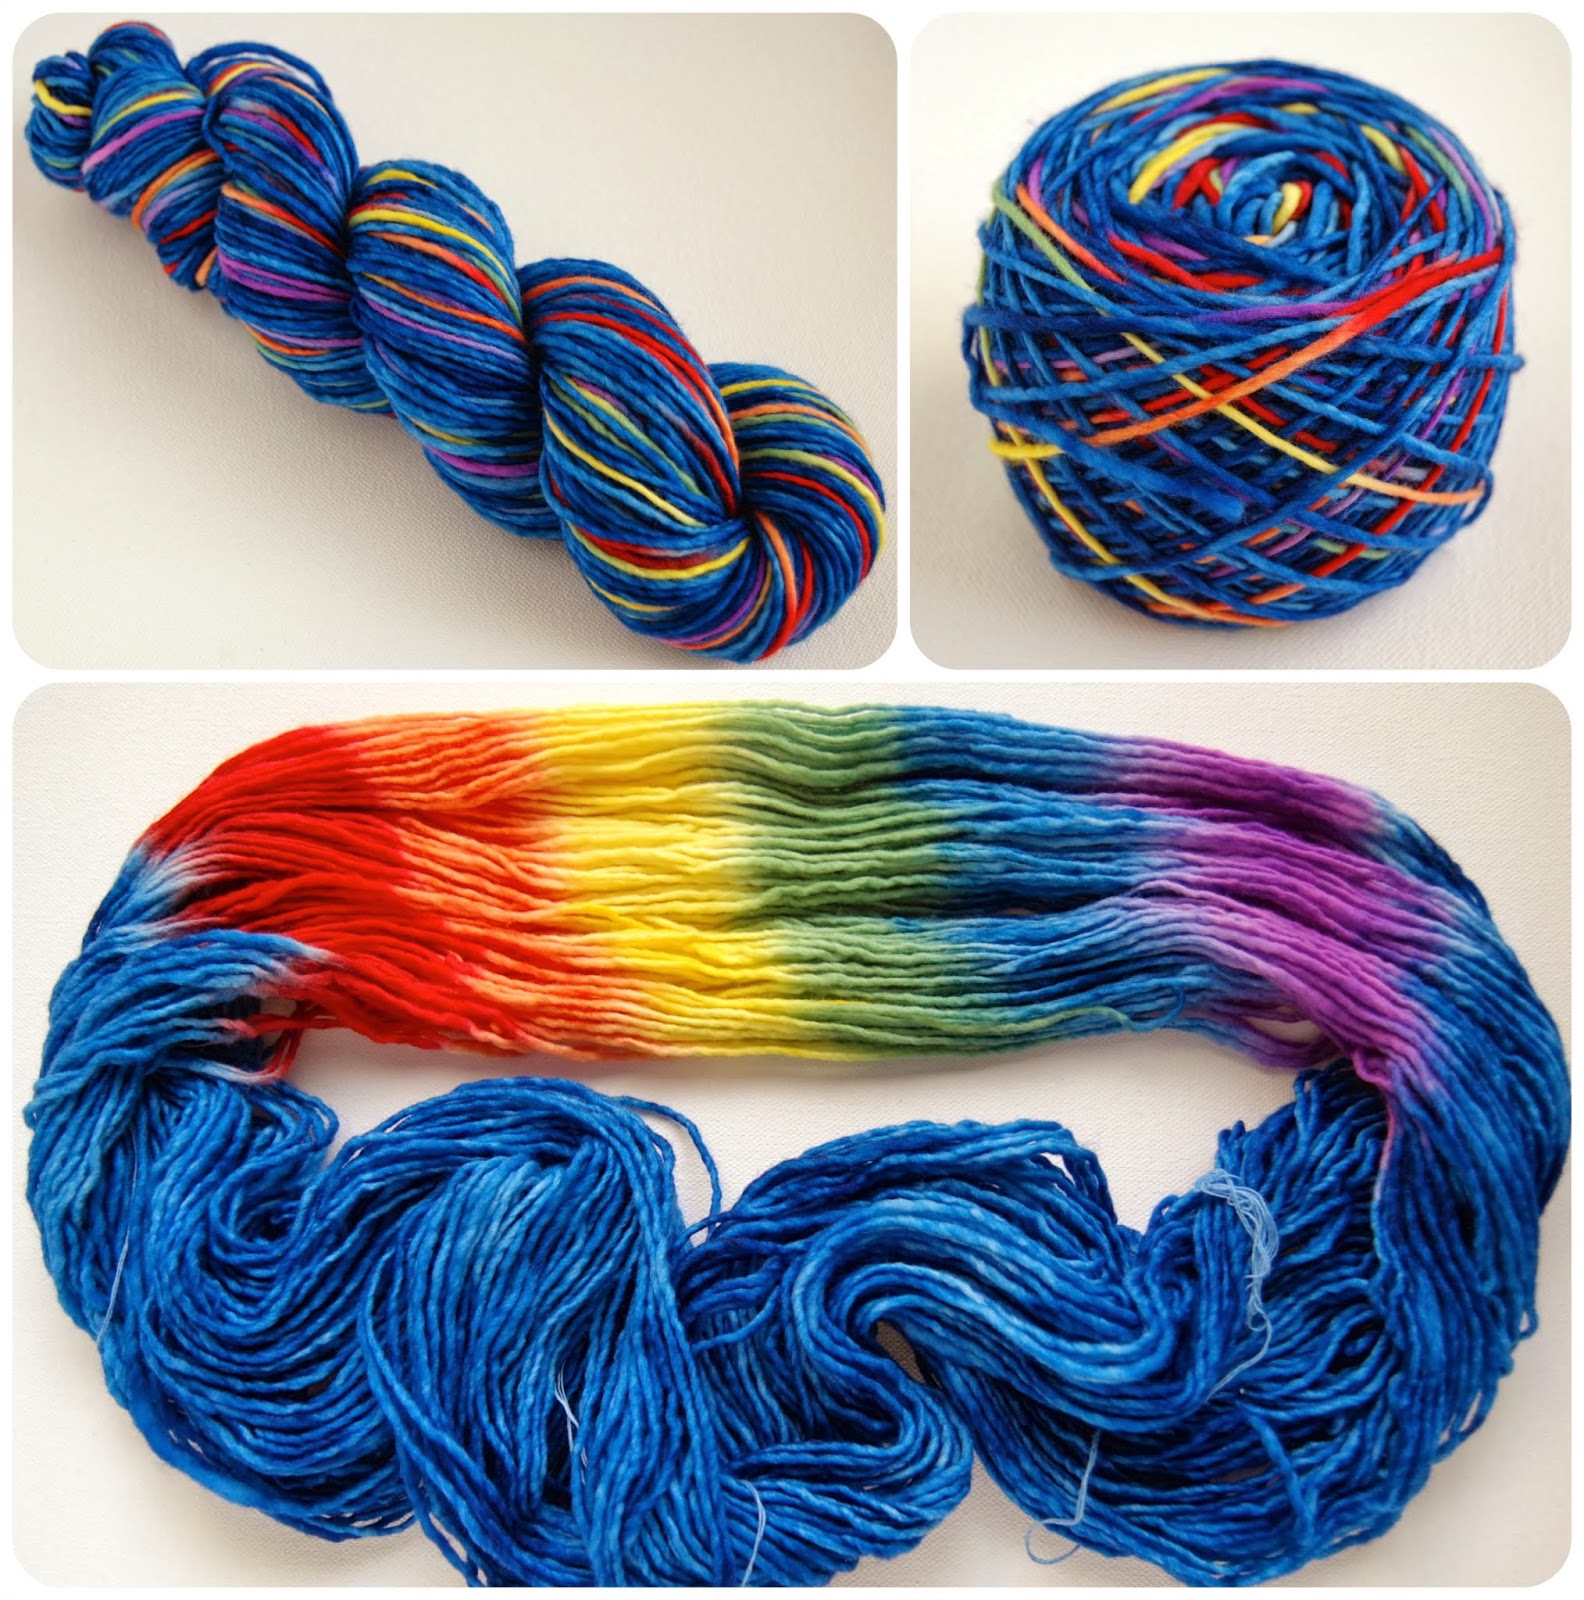
Make sure you're using wool yarn, this won't work with cotton or acrylic. Open up your skein and get ready to tie it with some undyed yarn. A 60" circumference skein works nicely (which is what many skeins are), but if it's bigger or smaller it's probably fine, too. I like to add 3 ties to keep the sections I'm leaving undyed together. Two of them divide the skein in half and the other divides that half in half. The half with no ties is where the dyeing is going to happen.
You don't need to do figure-eights, you can just tie around (not too tight, not too loose.)
(Say hello to Soup the cat.)

This is a figure eight, in case you're wondering. If you plan to dye the non-rainbow part of the skein a different color, then I would go ahead and tie figure eights like this. But if you're leaving it undyed, this is not necessary - just tie around.

When dyeing wool yarn, you need acid for the dye to bond. I like to soak the yarn in the acid for about an hour before dyeing the colorway. You can use white vinegar (which or course smells like vinegar) OR citric acid (which is pleasantly unscented). Either one is fine - I use citric acid because I have it on hand.
Kool Aid is acidic enough by itself, but I like to add to the soak as well. (Plus the colors that are only food dye need acid.)

Fill up your sink with cool water.
Add 1/4 cup vinegar for up to a pound of yarn
OR
1 TBSP citric acid per pound of yarn
and soak your yarn for at least an hour. You can even soak overnight if you like. Be sure to squeeze your yarn in the water to get all the air out.

(Go ahead and lay out your wee wee pads before anything else!)
Guar Gum is a thickener used in cooking - totally optional, but really helpful! I found it in the Gluten-Free section of Whole Foods, but it can also be found on Amazon.
I have done plenty of batches of UF successfully without it, but find it really helps make the color breaks clean. You can skip this step and just use plain water to mix your dyes if you don't want to bother.
Put 32 oz of warm water in the blender and add 1 teaspoon of guar gum. Blend on low for a minute or two, until the guar gum looks to be mostly dissolved.

Pour 8 oz of your blended mixture ( or plain water if you skipped that step) into each of your mason jars.
I use this mixture for the 4 middle colors (orange through blue), and a slightly thicker version for red and purple later.

For ORANGE, add 5 dashes (a dash is 1/8 tsp) or approximately 1 packet of Orange Kool Aid to one of your jars, and stir well.

If you have clumps, just let it sit for a bit and try stirring it again later.

For YELLOW, add 15 dashes, which is approximately 2 packets of Lemonade Kool Aid, to one of the mixture jars. Then add 3 drops of McCormick yellow, and stir well.

For GREEN, add 5 dashes or approximately 1 packet of Lemon Lime Kool Aid to one of your jars, and stir well.
For BLUE, add 5 drops of McCormick's NEON blue to the last jar, and stir well. I also add a little bit of acid (either a dash of citric acid OR a small splash of vinegar), and stir again.

Now transfer your dye mixtures to your squirt bottles and rinse out your jars.

Now this is for the red and purple dye stock - we want these to be slightly thicker to help keep the edge colors from wicking.
Put 16 oz of warm water in the blender and add 1 teaspoon of guar gum. I also add a little bit of acid (either a dash of citric acid OR a small splash of vinegar). Blend on low for a while, until the guar gum looks to be mostly dissolved. This will be a little frothier than the previous batch.

For red, add 40 drops of McCormick red, and stir well.

For purple, add 4 drops of McCormick NEON purple, and stir well.
Just a little side note - I find purple to be one of the hardest colors to work with. Purple can "break" when heated, meaning the colors in it separate and "strike" at different times, and you end up with a bit of blue within it. This neon purple holds it together pretty well, which is why I use it. Another side note - Kool Aid grape is not a pretty purple, which is why I don't use that.

Add the last two colors to their squirt bottles. Now you're ready!
*** I strongly suggest testing the squirt action of your bottles on a piece of paper towel before you start. Sometimes bottles have a wonky squirt, or a leaky cap, or something that may cause the dye to go somewhere you don't want it to. At least you can be proceed with caution if you know of an issue.

Lay out a long strip of plastic wrap, along with two smaller pieces to cover the curves.
See all those paper towel sheets? I find it really handy to have a stack of paper towel pieces ready to grab - in case of some runaway dye, or if I need to wipe my hands in between colors.

Remove your yarn from the acid soak and squeeze out all the excess water. Do not wring! Just squeeze until no water comes out.
Lay out your yarn like so - the half with the ties goes into the plastic wrap.

Go ahead and wrap this up now. In case some of the dye gets away from you, the undyed section will be protected.
Also, lay out a long piece of plastic wrap under the section you're about to dye. You should have at least 20 inches of straight, flat yarn to paint.

Lay out your yarn, and make sure that the strands are laid out straight. Spread the yarn out - not too thin, or the dye may run away on the plastic underneath, but not too thick, or the dye won't saturate through to the bottom.
Find the center of the section you're going to dye, and then slightly LEFT of that, do a little karate chop on the yarn, pressing down hard.

This karate chop makes a slight indentation on the yarn, which will give the first squirt of the dye some direction and keep it from running places you don't want it to go. Aim your dye into this.

I always start with yellow - it is the lightest color and tends to get eaten up by the orange and green. So I make sure to make the yellow a wide strip of color in the beginning.
Don't squirt too much at first, just one squirt along the karate chop dent you made.

Then go ahead and press the dye gently into the yarn with your fingers. Don't do it too hard - you don't want it to splatter into the wrong area. You just want to squish it around enough to get the yarn saturated with some color.

As you add more dye, press gently with the length of your hand, and then use your finger to gently press and roll the dye into the yarn to make that straight line. Make sure you're reaching the outer strands of yarn, too. You want to be adding enough dye to saturate all the yarn without oversaturating it. I press and roll with my left hand while squirting dye here and there with my right.

Use the same "press and roll" technique on the other edge, to make a straight line. I usually aim for each strip of color to be around 2" - 2.5" - though I don't actually measure, I just try to make sure they all look to be the same.

So let's do orange next. FIRST make sure to rinse your gloves off in between each color!! Then make your karate chop about a half inch or so to the left of the yellow edge.

And then squirt some into the dent. If you happen to miss and get some onto the plastic wrap like I did here, BE SURE TO CLEAN THIS UP RIGHT AWAY. This can run into some of the white where you don't want it, and that's a bummer.

Use the press and roll technique to gently push the orange dye to meet the edge of the yellow. Try not to push it too far into the yellow, but definitely cover all the white portions.

If you do have a bit of dye get away from you, it's not the end of the world. The orange on this is just a strand or two on the skein, and also will be over-dyed with red.

Now for green. Rinse your gloves!! Make your karate chop about a half inch or so to the right of the yellow edge.

Like with the others, squirt your dye into the dent. Add a little more dye, press and roll from the center out to meet the other colors, etc. If you need to widen the edge of your strip of color like with this green, be sure to make your dent where you want the edge to go so that the dye doesn't get away from you.
Go ahead and do your blue next using the same karate chop, squirt, press and roll technique.

Now that your four middle colors are done, let's do the two edge colors last. It's important to do these two last because it gives them less time to wick.
Make your karate chop dent, squirt your red dye into the dent, and use your very SLOW press and roll technique to first meet the edge of the orange, and then to make a clean, straight edge along the undyed area.

Press and roll - be sure not to splash or splatter!

Try to keep the edge here evenly saturated with dye so that it doesn't fade out too much into the undyed area.

Do the same with your purple. Be careful with the edge where the purple meets the blue - all the other colors blend pretty well from one color to the next, but the blue and the purple don't mix very nicely. Try to get them to meet without mixing, and without leaving a gap in color.

Now that your colors are done, take another piece of plastic wrap and lay it over the whole length of the rainbow. Now it's time to flip it over!

Taking the two pieces of plastic wrap that are sandwiching your dye job (two hands, one on each end) flip it over completely. The dyed section should be stuck to the bottom piece of plastic wrap, and hopefully you don't have any dye running anywhere. (Imagine that my other hand is lifting by the purple edge instead of awkwardly trying to snap a photo.)

Peel off the layer of plastic wrap that's now on the top and throw it away. Here's the underside of the yarn we just painted. See the light spots? We need to paint those.
NO KARATE CHOPS HERE.
Your yarn is pretty wet and saturated now and karate chops will just push dye into areas you don't want. Instead just go ahead and squirt a little bit of dye directly onto the light areas and gently press with your fingers to blend in the dye with the surrounding areas.
Do this with each of the colors that need it, but make sure to rinse your gloves off in between each color.

Now your paint job is done!
Lift up one side of the plastic wrap underneath, and slowly fold the painted part of the skein over in half.

Make sure the colors line up!!

Now fold it in half again, and wrap the plastic wrap firmly around the rainbow area. DON'T SQUEEZE while you're doing this.

Also make sure your gloves are clean (or off) while you're handling the now mostly-wrapped skein of yarn.

Gently lift the rainbow part of the skein and lay it down in the tupperware. You can curve the yarn into the tupperware but try not to squeeze it or bend it too much. Try to get the dyed section to lay down flat so that gravity isn't causing any dye to run.

Now cover the top of the tupperware with plastic wrap.

Place the lid on top of this. Don't press it down, just set it there.

Pile the rest of your skein on top of the lid.

Cover the yarn on top loosely with plastic wrap.

Place the whole thing into the microwave. Heat it on your regular setting for 2 minutes, then let it sit for 2 minutes, then heat it again for 2 minutes, then sit for 5 minutes, then heat it for 2 more minutes. Then let it sit for a while until it cools down a bit.

It will be one hot steamy package, so use oven mitts when you take it out. Don't move the yarn itself until it has cooled down.

The steam inside will be really hot when you open it to peek at it, so be careful.

Once it's cooled down, open it up and remove all the plastic wrap.

Once the yarn is completely cool, no longer hot anywhere on the skein, you can rinse it in cool water. It will be a bit slimy if you used guar gum, so be sure to rinse all that off.

Then add some baby shampoo or mild dish soap, fill up the sink, and let it soak for a while.

If you used vinegar as your acid, this will help get the smell out.

Now rinse again until all the suds are gone.

Squeeze out all the excess water, and hang it up to dry for a couple days.

So, you may notice that you have lots of dye left over. If you want to save it for future use, just pop the dye bottles in the fridge until next time. Or, if you want to use it up or if you need a fun trim to go with with your Unicorn Farts, you can go ahead dye up some Unicorn Barf.
I usually wind up 1.75 or 2oz of yarn at a circumference of about 40" or so. A few loose figure eight ties are helpful here so that you don't end up with white spots on your skein. Soak it in your vinegar along with your main skein. When you're ready to dye, use the same method to squirt and press into the yarn, press and roll to make your edges, and just make sure to saturate all the way through. Try your best to make your six color sections the same length. Then wrap and heat.

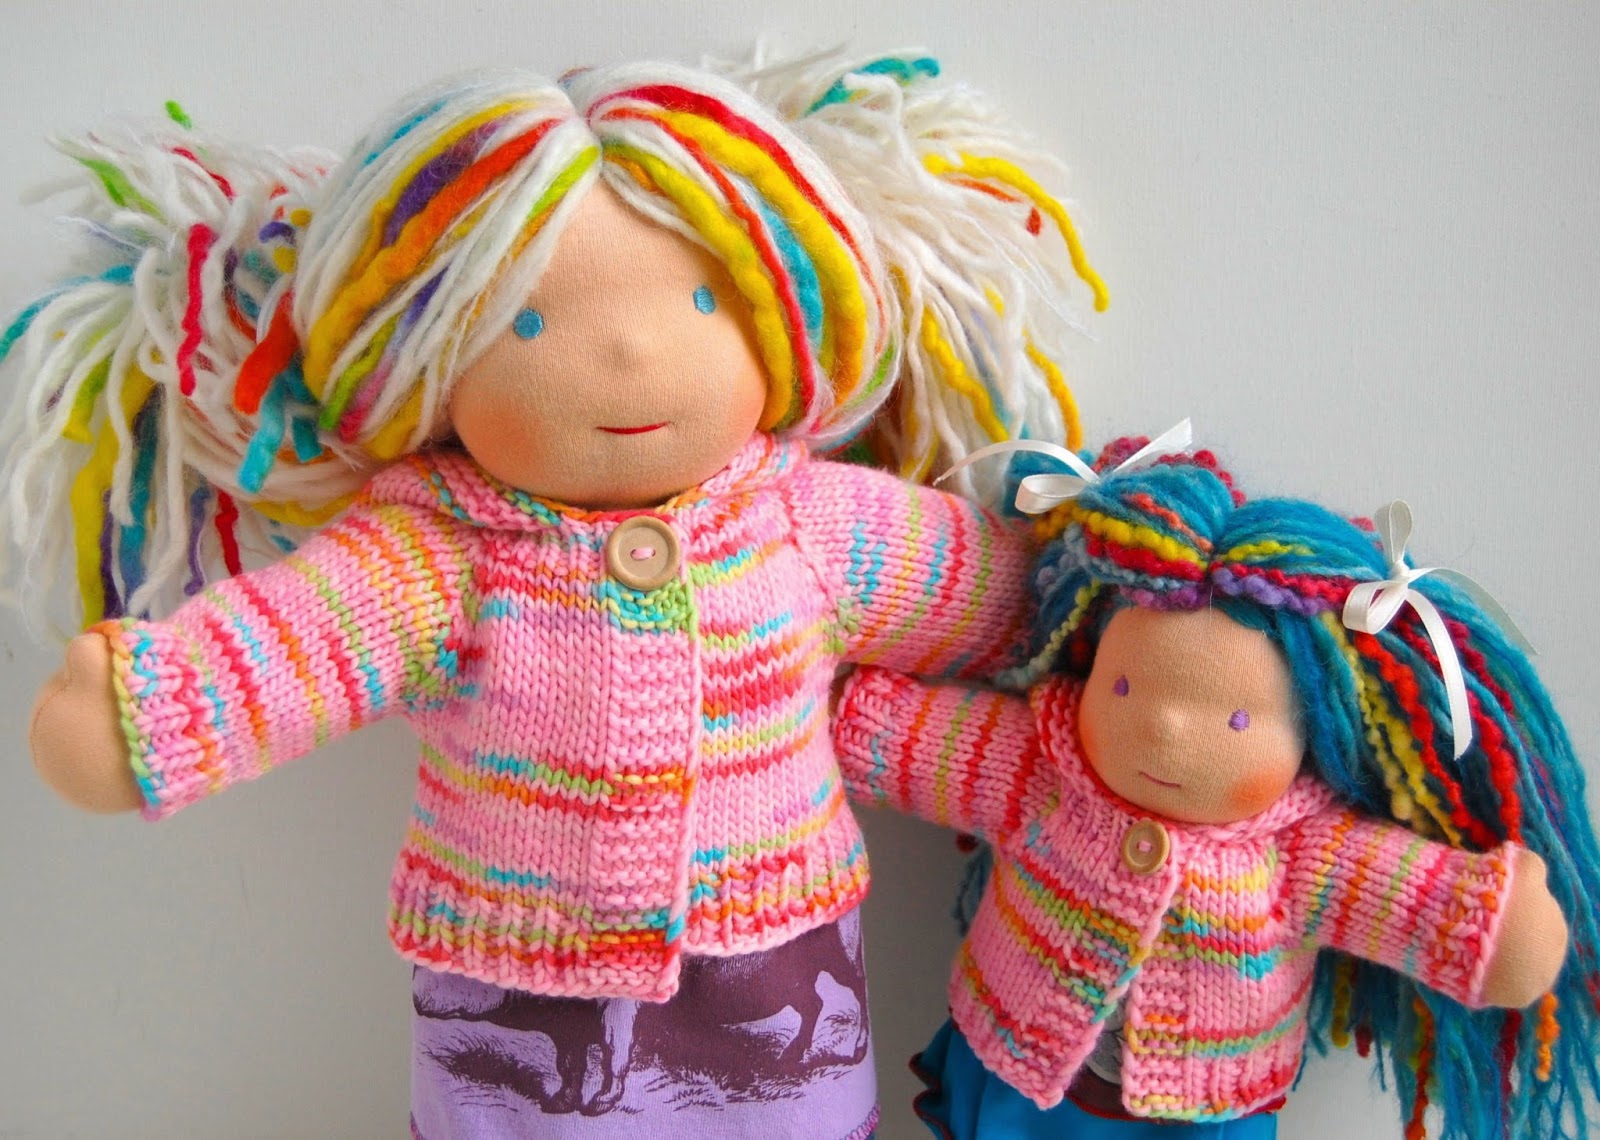
Here you can see where I've used the Unicorn Barf on the straps, skirt edge, and heart pocket.
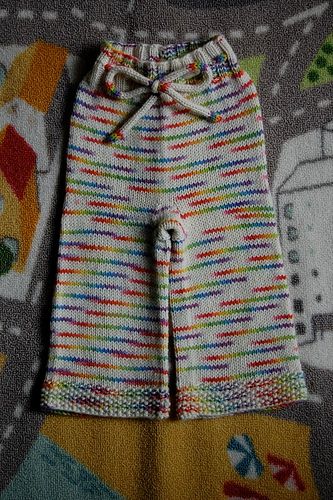
This all works with acid dyes, too. Here's a pair of longies I made a few years ago.

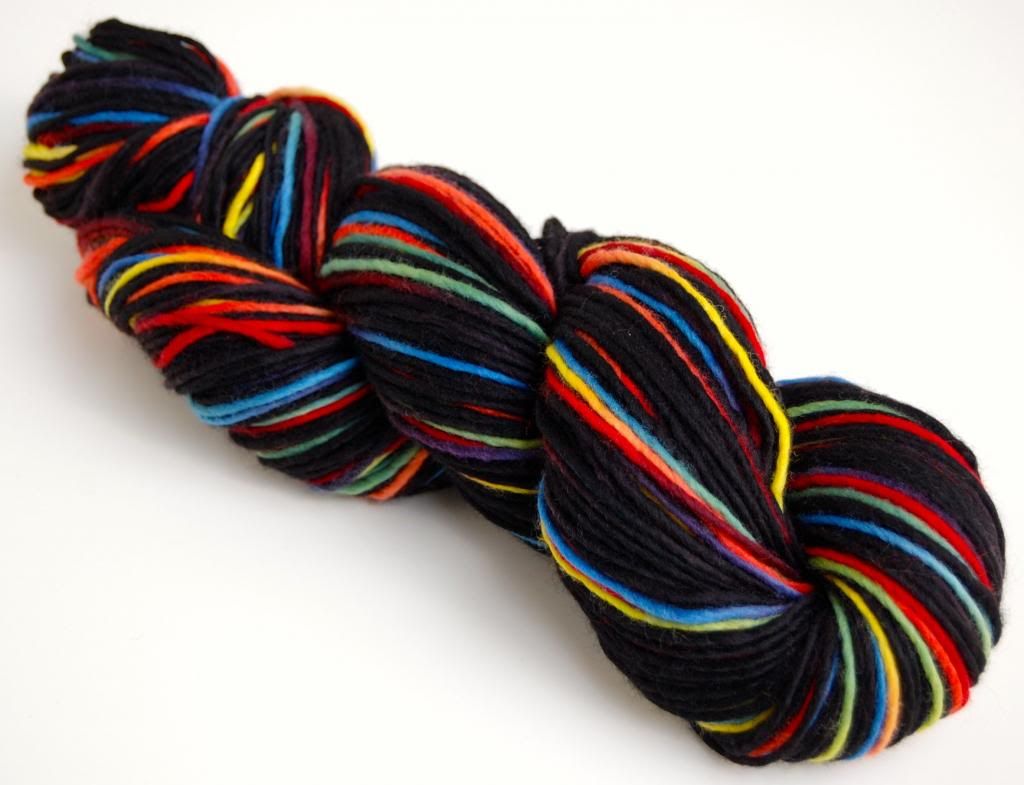
Here's another set I did using acid dyes and the above method. Except I accidently splashed some dye on the white part of the skein and ruined the dye job. :( So I decided to overdye the undyed part black, and call it "Vampire Farts" instead! It was helpful to thicken a bit of the black dye with guar gum and then hand-paint the two edges where the black meets the red and purple edges of the rainbow. I then dipped the larger part of the undyed skein in a bath of black dye to finish the job and I didn't have to worry about the black wicking into those two edge colors.
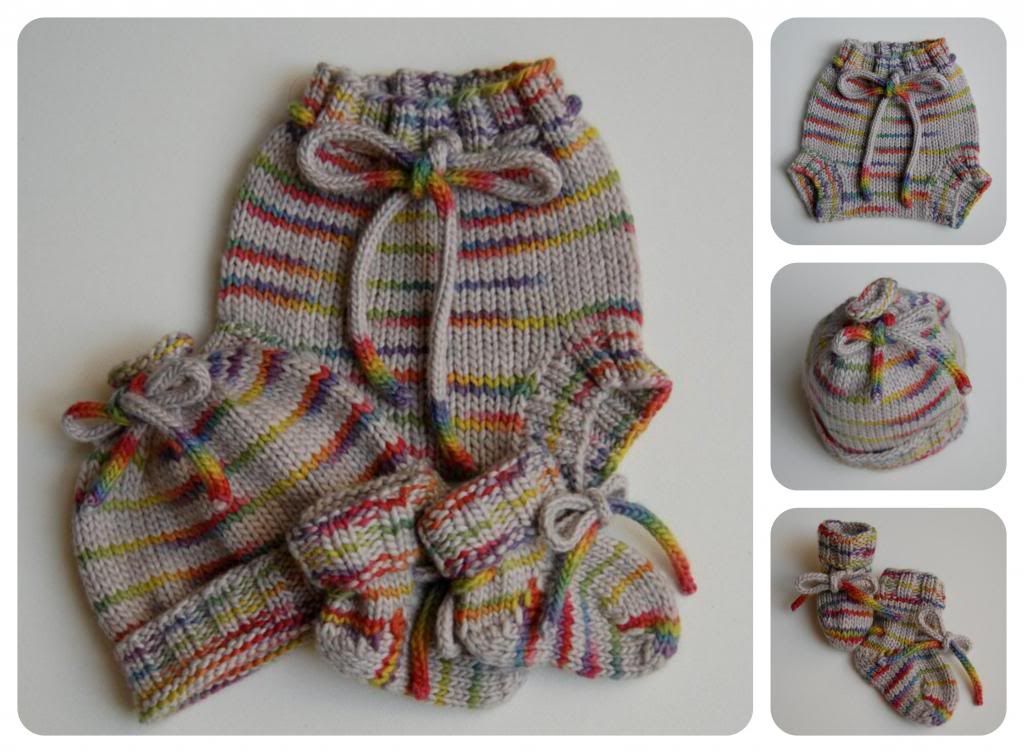
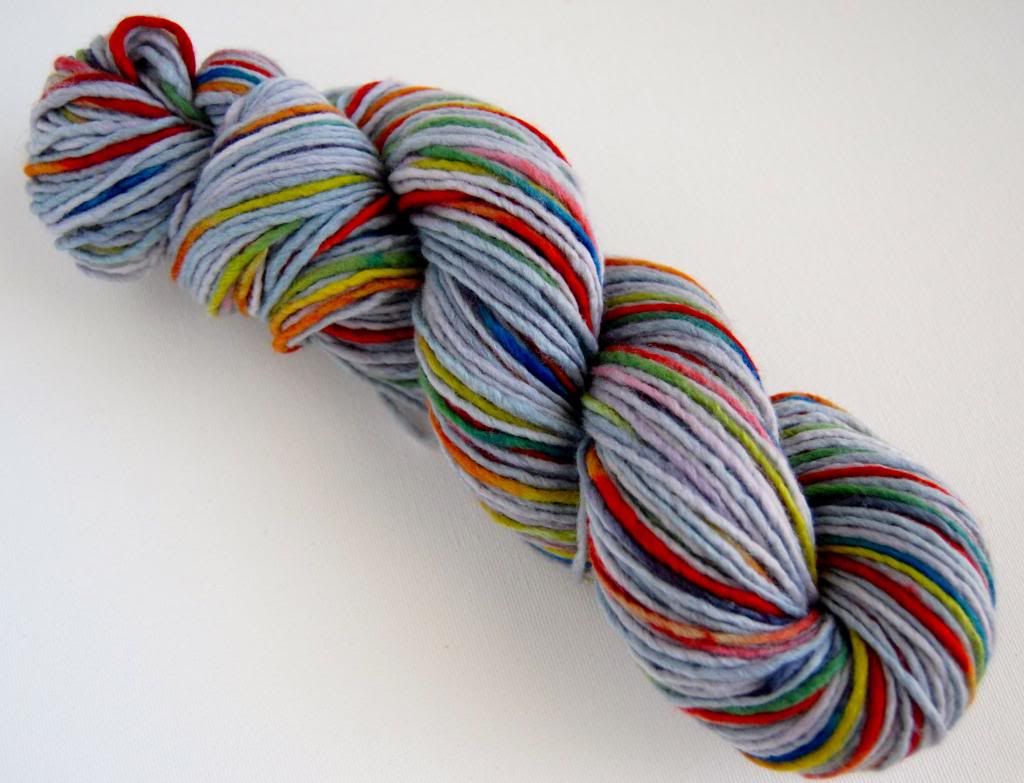
Here's one more set I've made, using the above method. I took a skein of grey yarn (this was "Pearl" by Malabrigo) and used acid dyes to overdye it.
This was "Polar Morn" by Malabrigo. I'm calling it "Zombie Farts".

Zombie Farts knit up into doll sweaters.
Princess Farts

Pegasus Farts
Tardis Farts, of course

:)

